
Sealing a leaking dam doesn’t have to involve heavy machinery, draining or expensive plastic liners. With Water$ave Dam Sealers, landowners can restore water retention using gravity, water pressure & a simple surface application.
This guide explains how to correctly apply our Water$ave Dam Sealers, Water$ave Plug & Water$ave Seep, to achieve the best results for your dam or pond.
Understanding How It Works
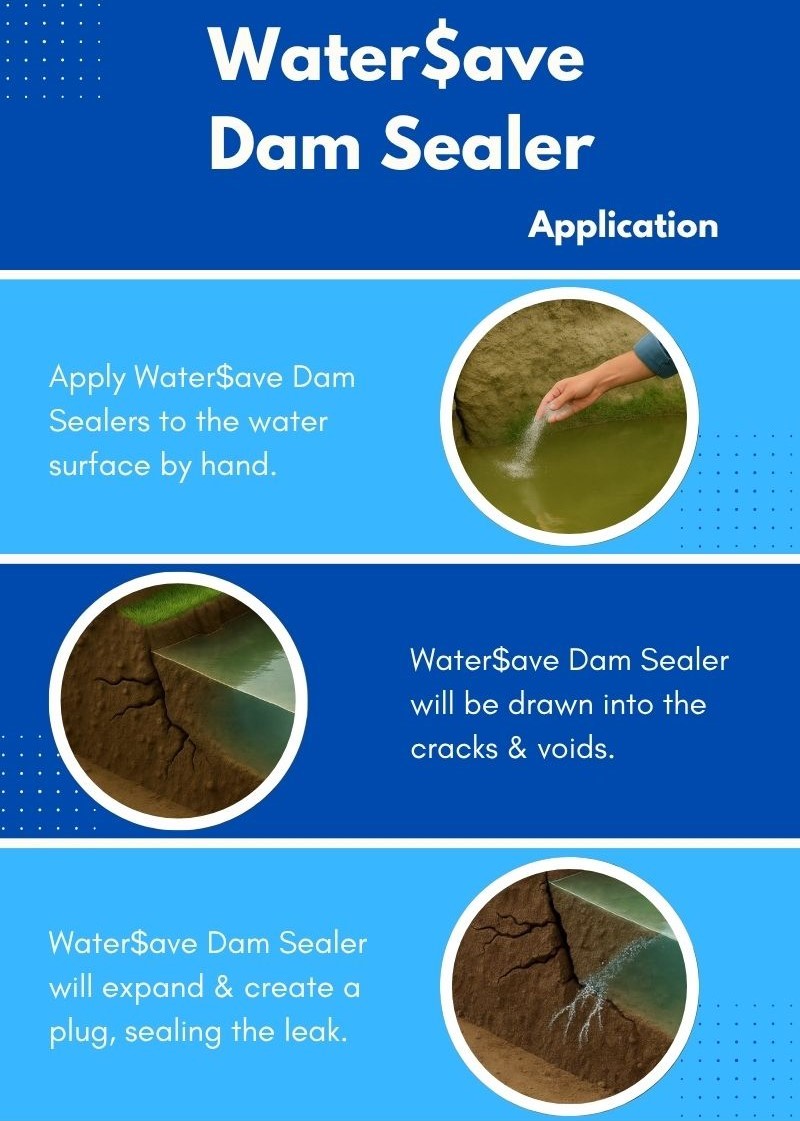
Water$ave is a granular polymer product applied directly to the water surface. The granules float briefly, then sink & are naturally drawn into leak zones. As they absorb water, they swell & create a water-blocking seal inside cracks or porous soil. The process is passive — no machinery or mixing required. Once applied, the water does the work.
Step 1: Locate the Leak Area
Before applying the product, observe your dam for signs of water loss. Common indicators include a faster-than-normal drop in water levels, damp ground around the base of the wall, burrows, cracks or visible water flows.
Even if the leak location isn’t obvious, the product will still be drawn toward active seepage paths. If you're uncertain, contact Polymer Innovations for a FREE dam assessment to help determine the most suitable product & target area.
Step 2: Prepare the Surface
Clear away any floating leaves, twigs, aquatic weeds or algae near the suspected leak zone. This allows the product to sink & disperse more effectively. If water levels are low, allowing the dam to refill slightly can increase pressure & improve the product’s ability to reach deeper or larger leak pathways.
Step 3: Apply the Product
Distribute Water$ave granules evenly over the water surface, focusing on the area above or near the suspected leak. The recommended application rate is 100g per square metre. You can apply the product by hand, with a scoop or spreader, or from a boat if the leak is further from the edge. Avoid applying more than 1.5 metres from the bank unless you're able to distribute from the water. There’s no need to stir or mix the product. Once applied, the water column & pressure will naturally carry it to the leak points.
Step 4: Let the Product Work
After application, minimise disturbance to the dam for the next 7 to 14 days. Avoid livestock access, pumping or strong inflows if possible. Most dams show noticeable results within a week. If leakage continues beyond this period, a second application may be needed.
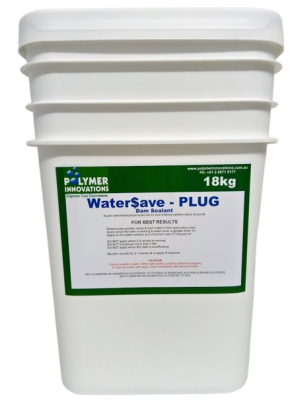
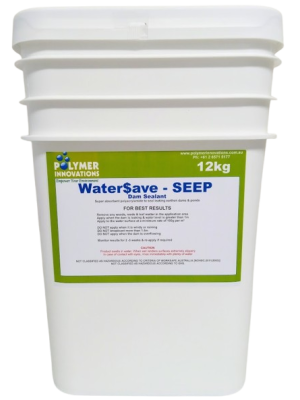
Choosing Between Water$ave Plug & Seep
Water$ave Plug is designed for coarse or rocky soils & fast leaks, especially from the dam base. It contains larger particles that settle quickly & seal fast-moving water pathways.
Water$ave Seep is best for slow leaks, finer soils & wall seepage. Its fine granules remain suspended longer, helping it travel into small voids & porous zones.
If you’re unsure which one to use, our team can help you choose based on soil type, leak speed, & dam construction.
Why Application Matters
A correct & targeted application not only saves time & product but maximises sealing efficiency. Many users report full sealing with a single application, provided the surface is clean & the leak path is accessible.
The product is non-toxic, safe for animals & proven to be effective across thousands of rural & industrial sites. It's a reliable, DIY-friendly option for landowners, farmers & councils managing water loss.
Need Help?
If your dam or pond is leaking, now is the time to act. Visit our Solutions page for more information or contact the team for tailored advice & a free dam or pond assessment.
For over 20 years, Polymer Innovations has helped Australians seal leaking dams with reliable, long-lasting solutions that conserve water and deliver results.

Comments